From Sketch to Shelf: Amplified Ink’s Design Process Explained
Most businesses don’t realize how much happens between “I need a t-shirt with our logo” and a box of finished merch landing on their doorstep. The gap between a rough idea and a print-ready product is where most branded merchandise either becomes a marketing asset or a regrettable closet-stuffer. At Amplified Ink, we’ve built a design process that closes that gap on purpose — and we want to walk you through exactly how it works.
If you’ve ever wondered why some custom apparel and promotional products look polished and professional while others feel off-brand and forgettable, the answer is almost always in the process. Here’s how ours runs from sketch to shelf.
Step 1: The Discovery Conversation
Every project starts with a conversation, not a quote. Before we sketch a single thing, we want to understand three things: who you are, who you’re trying to reach, and where the merch is going to live. A trade show giveaway, a staff uniform program, and a thank-you gift for top clients all need very different design thinking, even if they end up on the same kind of shirt.
We ask about your brand voice, your existing visual identity, the events or campaigns the merch is tied to, and any previous projects that worked or flopped. This is also where we surface the boring-but-critical details: budgets, deadlines, sizing breakdowns, color preferences, and what your brand absolutely cannot look like. Skipping this step is the number one reason design projects spiral into endless revisions.
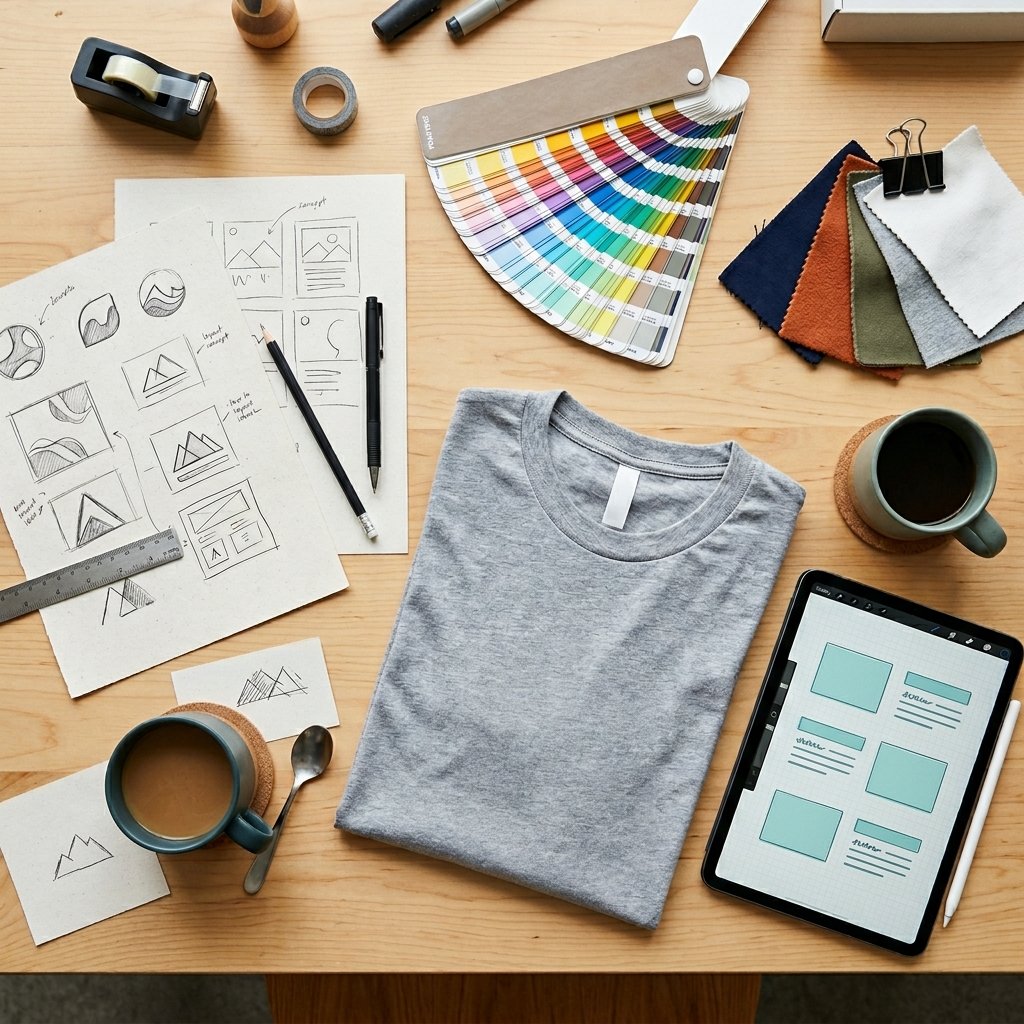
Step 2: Concept and Sketch
Once we have the brief, our designers move into concepting. This isn’t polished artwork yet — it’s quick, rough exploration. Sometimes that’s a literal sketch on paper. Sometimes it’s a mood board, a typography study, or a layout test. The goal is to put a few different directions on the table before we commit to one.
We usually present two or three concept directions per project. Not twenty. More options sound generous, but in practice they paralyze the decision and dilute the strategy. Two or three strong, distinct directions force a real conversation about what fits your brand best.
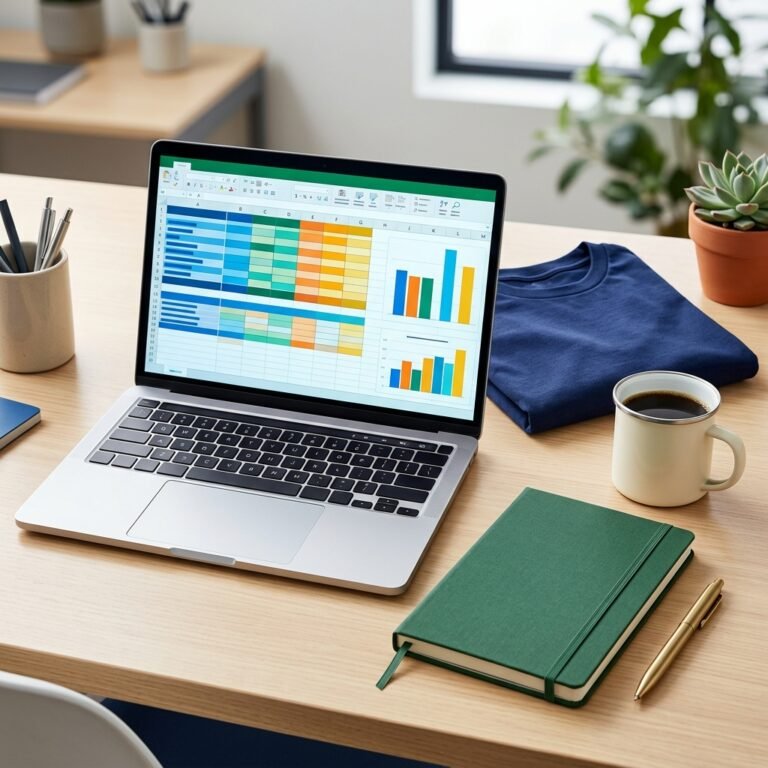
Step 3: Refinement and Mockups
Once you pick a direction, we move into refinement. This is where the design gets pulled into our production tools and rendered as a realistic mockup — your design on the actual product, in the actual colors, at the actual placement. Seeing a logo printed on a navy hoodie at left chest is a completely different experience than seeing it floating on a white page in a PDF.
Mockups give you the chance to catch things that look great in theory and weird in practice. Print placement that feels too high. A color combination that pops on screen but disappears on heather gray. A font weight that loses detail at small sizes. We’d rather catch all of that here, before any ink touches fabric.
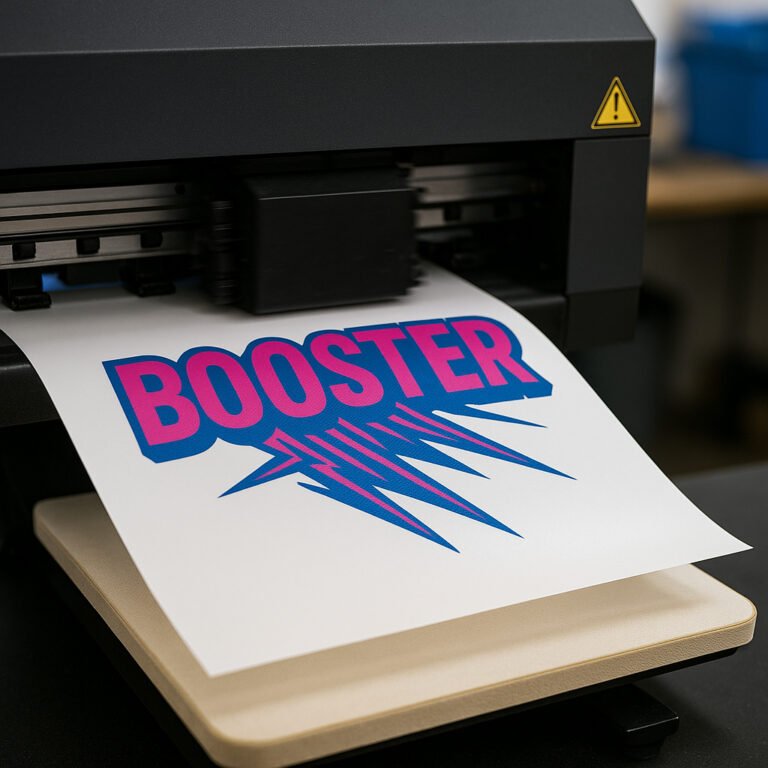
Step 4: Production-Ready Files
Approval triggers the unsexy but mission-critical step: prepping production-ready files. Different print methods need files set up differently. Screen printing needs separated color layers. Embroidery needs digitized stitch files with thread color matches. DTF and DTG printing have their own resolution and color profile requirements. Promotional products like pens, mugs, and tote bags all have their own templates and tolerances.
This is the step that separates design shops from production partners. A pretty mockup that wasn’t built for the actual print process is how brands end up with merch that looks nothing like what they approved. We build files specifically for the production method on day one, so what you sign off on is what you receive.
Step 5: Print, Quality Check, and Delivery
Production is where craft meets discipline. Every order gets printed, inspected, and packed by people who know what a clean print looks like. We catch misregistrations, weak fills, misaligned embroidery, and color drift before anything ships. If a piece doesn’t meet the standard, it gets re-run — not slipped into the box and hoped for.
Then it ships, on the timeline we promised, with the count we promised, ready to put your brand in front of the people you’re trying to reach.
Why This Process Matters for Your Brand
A design process isn’t just a workflow — it’s a quality guarantee. When every project moves through the same intentional steps, the result is merchandise that actually represents your brand the way you want it represented. No surprises. No “well, this isn’t quite what I had in mind.” No expensive reorders.
The brands that get the most out of their branded merchandise are the ones who treat the design phase as strategic, not transactional. That’s exactly how we treat it.
If you’ve been thinking about a new apparel run, a promotional campaign, or a refresh of your branded materials, we’d love to walk you through the process in person. Get in touch with Amplified Ink at amplifiedink.co and let’s turn your next idea into something worth wearing.